Drywall Installation
We are drywall contractors in the Burnaby BC area, who have been serving the people of the community for many years now. That includes serving Surrey, Richmond and Coquitlam residents with all their drywall needs. Check out our complete service area below to see if we come out to your neighborhood. It is important to us to take care of our fellow neighbors and businesses. So if you are looking for quality drywall services, give us a call today! 604-245-5087
For drywall installation to be successful, you should only hire a qualified installer. The installer must know about the different types of sheetrock available and how to fix them. When plasterboard is purchased, it comes in different panel sizes depending on its use. Generally, they measure 4 feet wide and have a thickness of between ¼ - 1 inch. The standard length of most panels is eight feet long.
GET FREE QUOTE TODAY!
GET YOUR FREE QUOTE TODAY!
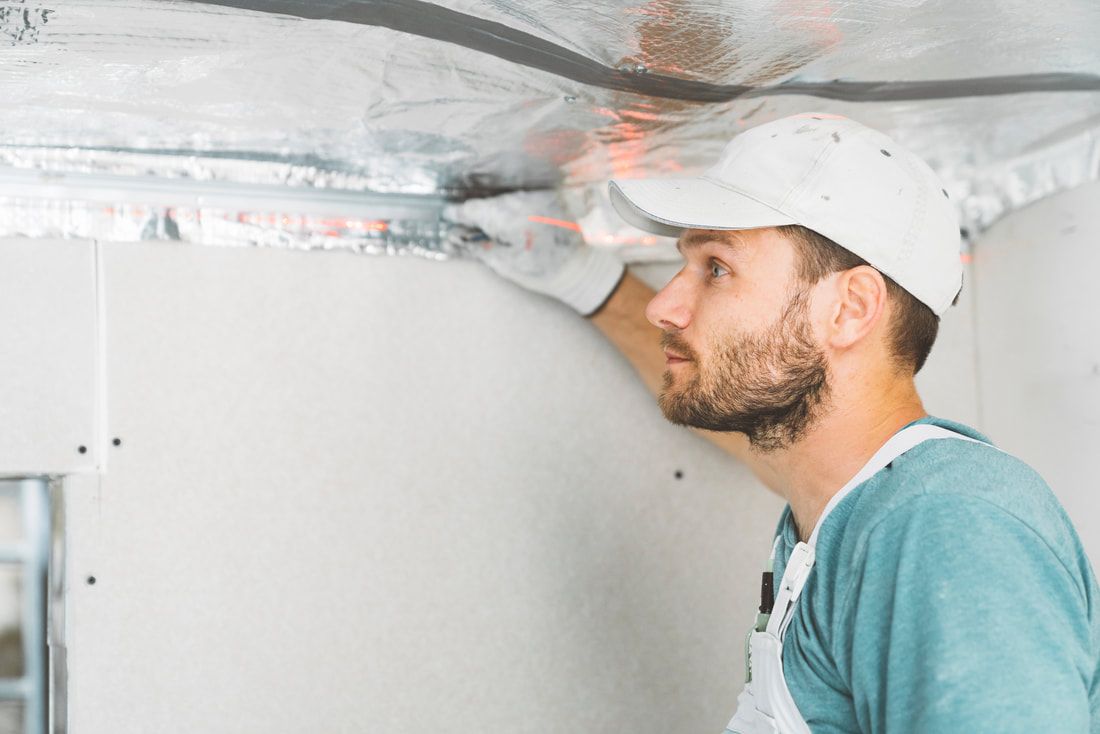
Once the appropriate boards have been purchased, the installer then installs them on the wall or ceiling using drywall screws and nails. If the panels are to be installed on both the wall and the ceiling, the insulation and electrical should be installed first.
Installing Drywall Tape
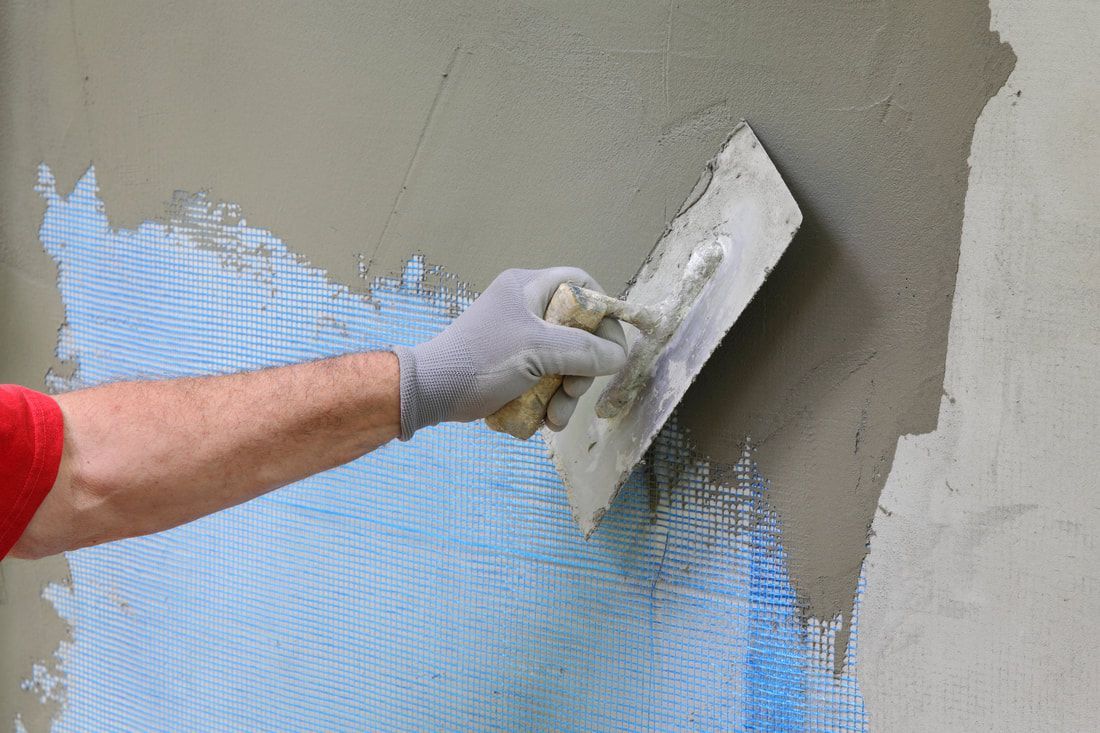
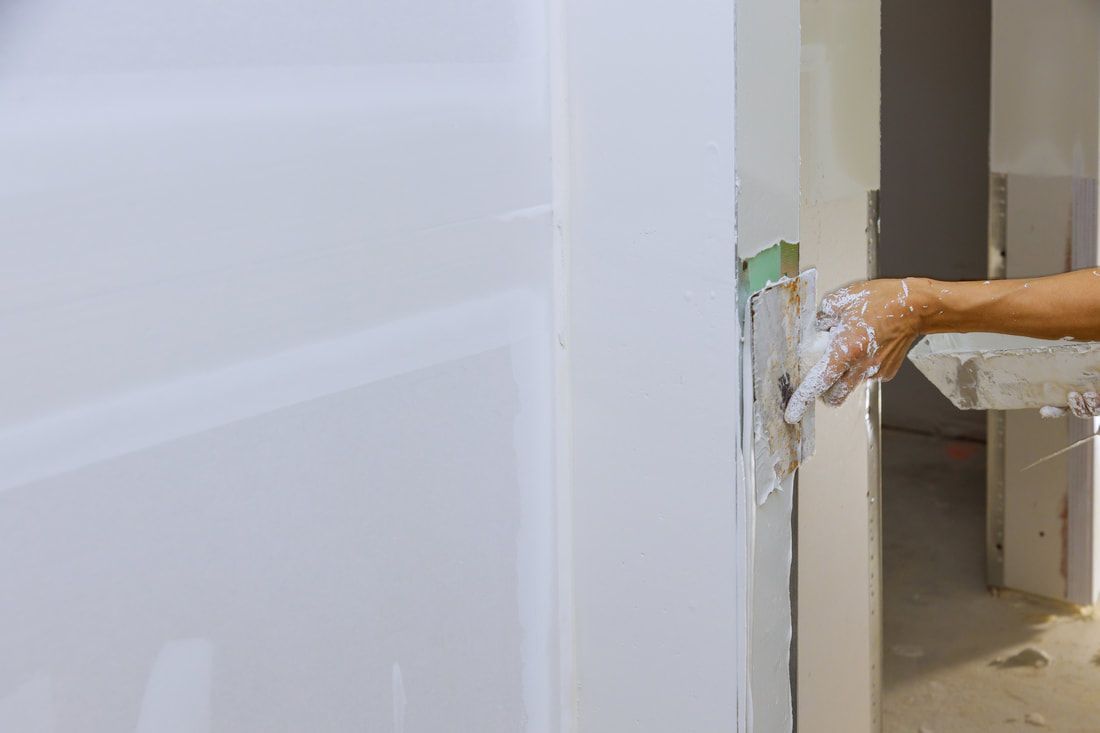
Once the panels have been installed, the joints are then taped. Taping is the process in which the joints are covered with fiberglass or paper tape. To hide the tape, the area is covered with several layers of a plaster-like compound. When installing plasterboard around windows and corners, the standard way to do it is to create bull-nosed corners.
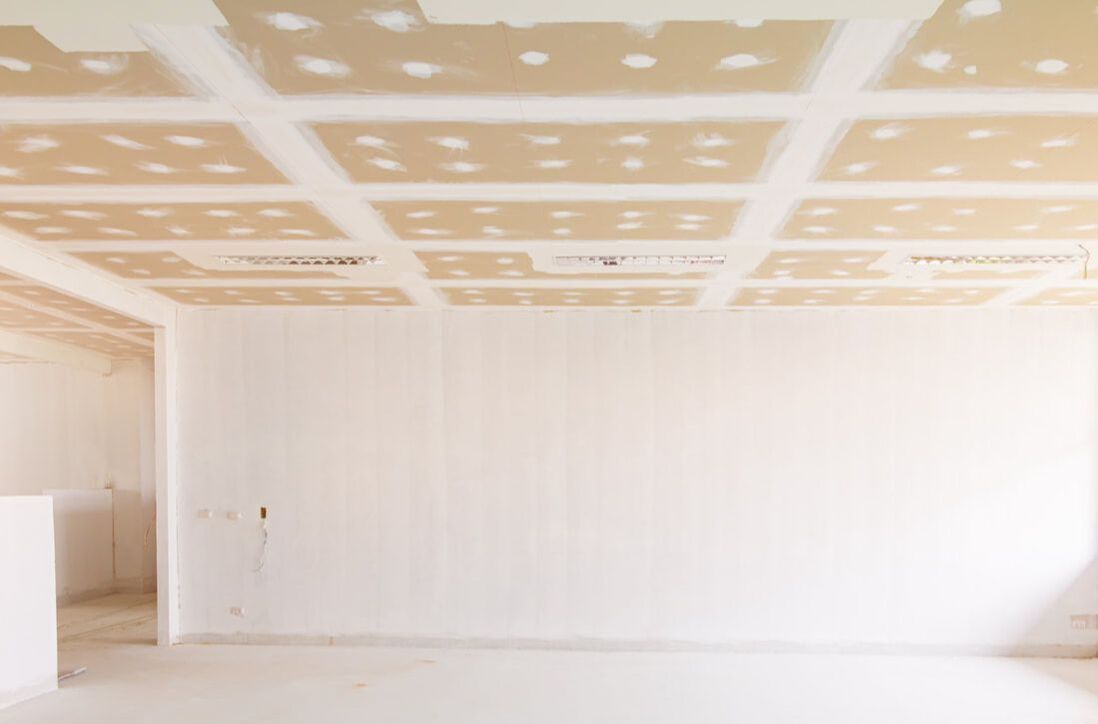
After the plasterboard has been installed, the finishing will depend on the client's wishes. The two most basic drywall finishing include a smooth finish and a textured finish. A smooth finishing is suitable where the client prefers to have wallpaper installed. Other clients prefer to have a drywall 3D sculpture installed, while others might prefer a Jurassic-themed Park Mural. Whatever type of finish you desire, give us a call and let us make your dreams a reality.
Drywall Screws VS Gypsum Nails
There has been a debate lately as to whether drywall screws are better than drywall nails. The truth of the matter is that both of these have their advantages and disadvantages. However, having been in the industry for a long time, we prefer to use screws instead of nails. This is because screws give your wall added security, especially when you are installing the ceiling.
When it comes to using gypsum nails, it is essential to point out that they are cheaper and easy to use. For example, a hammer can be used to install gypsum. However, to use a screw, you require a screw gun, which increases the overall installation cost.
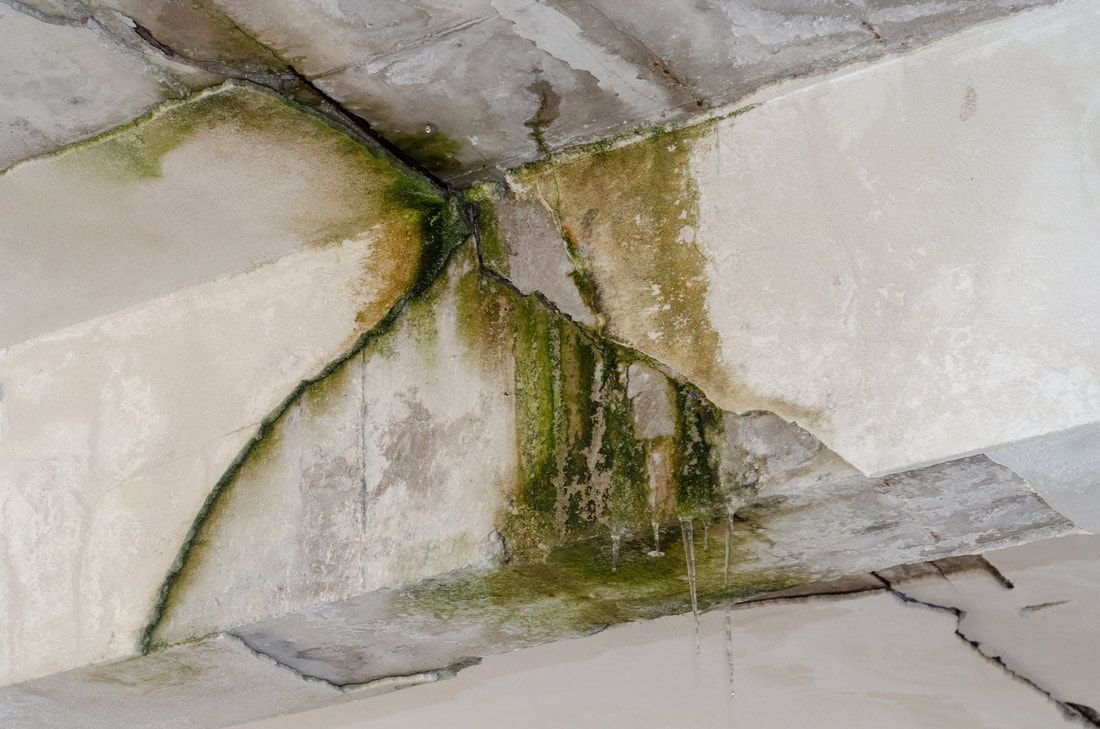
Fixing Drywall Cracks & Patching Holes
There are all kinds of reasons that holes and cracks form in drywall boards. Some areas are more prone to this kind of damage, such as door frames and high traffic hallways. Keep your customers impressed by staying up to date with your repairs on your commercial property. Some times drywall damage is accidentally caused when filing cabinets or furniture is moved about the office. Residential drywall repair is more common, but we greatly enjoy serving our local community businesses.
Causes of Gypsum Wall Cracks
Have you spotted any cracks on your walls of late? If yes, then you need to give us a call immediately! Failure to fix plasterboard cracks will result in the damage becoming bigger and bigger, which will ultimately affect your property's structural integrity.
There are four main reasons why wall cracks appear. These are:
- A sudden change in humidity levels
- A sudden change in temperature
- Structural problems caused by poor frame design
- A settlement on the foundation
Rules of Gypsum Repair
Before carrying out any gypsum repair project, understand that safety should be your primary priority. Cutting panelboards should be done by a professional drywaller who can read blueprints and determine where plumbing pipes and electricity cables are located.
Another rule is that the gypsum board should be kept away from children and pets until installed. Joint compounds should also be securely sealed and kept away from children. Finally, wear a mask and safety goggles before working on any project. This is because the dust particles produced can cause respiratory irritation when inhaled.
Patching Drywall Dents
Dents on walls can result from several factors, such as when moving a large piece of furniture or when you accidentally hit the wall with a hammer. Smaller dents are easy to repair especially if they are less than 6 inches wide. In this case, we will use a drywall patch kit to cover the hole and then apply a drywall spackle. We will then sand the area and give it an appropriate finish.
Taping & Texturing Drywall
We ensure quality work for our customers because our drywallers have many hours of experience perfecting their techniques. A smooth sanded finish regardless if it is a new install or simply a repair. Maybe you own some rental properties and you have tenants who are often causing damage. We are very excited to offer maintenance programs for your needs. When a tenant moves out and your property requires drywall touch ups and a fresh coat of paint, give us a call to help get it ready for the next tenant. Call Today 604-245-5087!
Repairing Medium Holes
Taping and texturing form part of the finishing process. The type of tape and texture applied will depend on two main factors:
- The interior design
- Level of drywall finishing needed
Taping Joints
Taping is the process of covering seams and joints using tape. Taping is the most crucial part of any gypsum project because it hides seams and joints. Another important reason why taping is important is that it helps adjacent sheets bond, thereby creating continuity which reduces cracking.
There are several types of tapes in the market. These are:
Paper tape: This tape is easy to fold and use around corners because it has a slight crease in the middle. It is about 2 inches wide and is 50 - 200 feet long. Because it is a thin tape, it produces the smoothest seams compared to other tapes in the market.
Moisture Resistant Tape: Moisture resistant tape is designed for use in moisture-prone areas such as the bathroom and kitchen areas.
Fiberglass tape: Fiberglass tape is harder to cut when compared to paper tape. It is ideal for patching wall holes and is not suitable for corners because it does not fold well.
Metal Tape: Metal tapes are one of the hardest tapes to use. They should only be used around corners because they leave bumps if used on a flat surface.
Fire-resistant Tapes: These are expensive tapes created for use in fire risk areas such as the garage and kitchen.
Types of Drywall Textures
The use of texture is a great way to add some feel and sophistication to your walls. Another reason why texture is important is that:
- It adds warmth and character to your home
- It covers visible repairs
- Hides defects, especially on the ceiling
- It gives your home a unique architectural look
One main advantage of plasterboard texturing is that it is inexpensive when compared to flooring and lighting. There are several types of textures to choose from. These are:
Orange Peel Texture: This is the most common type of residential texture in Burnaby Bc. It is easy to apply because the contractor only needs to spray and let it dry. It is applied by spraying drywall mud on the surface using an air compressor with a special nozzle. Once applied to the ceiling, it will resemble the peel of an orange.
Skip Trowel Finish: This texture is achieved by using a trowel tool. Once a thin coat of drywall mud has been applied to the ceiling, the tradesman will drag the trowel in an arching pattern to create a rolling mud look. Keep in mind that this pattern should not be used around furniture as mud might chip off.
Spar Sand Ceiling Texture: This texture is made by mixing mud with water, a primer and sand. The mixture is then sprayed on the wall using a hopper gun. The result is a textured surface that does not easily crack or chip off.